Table of Contents
If you are here, chances are you have the same concern I had: the need to connect more than two monitors to your Macbook Air M1 or M2 via the USB-C port, as well as the ability to connect those same monitors to another computer, whether it is Windows, Chromebook, or even Linux, by simply changing the USB-C cable. Let me start by saying that this is possible, and I will explain how in this article. Of course, it requires a small investment, but I am confident it will be worthwhile.
How many monitors does my MacBook Air/Pro support natively?
Before we begin, if you’re unsure about how many external monitors you can natively connect to your MacBook Air or Pro, follow these steps: go to the Apple menu > About This Mac, double-click on the serial number, and copy it with CMD + C. Then, paste the number into the Apple Technical Data page with CMD + V. In the Video Support or Graphics section, you’ll find detailed information about the number and type of compatible monitors.
Here’s a summary of the external monitor support for each MacBook version:
- MacBook Air with M1 chip: Maximum one external display
- MacBook Air with M2 chip: Maximum one external display
- MacBook Pro with M2 chip: Maximum one external display
- MacBook Pro with M2 Pro chip: Maximum two external displays
- MacBook Pro with M2 Max chip: Maximum four external displays
- MacBook Pro with M3 chip: Maximum one external display
- MacBook Pro with M3 Pro chip: Maximum two external displays
- MacBook Pro with M3 Max chip: Maximum four external displays
What is the inconvenience of connecting multiple monitors to a MacBook Air M1 or M2?
The number of external monitors that the MacBook Air M1 and M2 devices can natively support is limited. Additionally, unlike most laptops, these machines do not have HDMI ports to facilitate the connection of external monitors.


They have two Thunderbolt/USB 4.0 USB-C ports that allow you to connect an external monitor via a USB-C to DisplayPort cable and can achieve a resolution of up to 6K at 60Hz. This means you can have two displays: the MacBook’s display and an external one. If you prefer to keep your MacBook closed, you can only use the external monitor.
However, if your setup requires the use of more than one external monitor, you’ll encounter a major obstacle, as Apple’s M1 or M2 chips don’t allow this function natively. In the technical specifications of the MacBook Air M1 or M2, Apple indicates that it only supports one external monitor of up to 6K at 60Hz.
The higher-end MacBooks with M1, M2, or M3 Pro and Max chips have the ability to support multiple external monitors, while the lower-end MacBook Air M1 or M2 can’t connect more than one external monitor natively. This limitation represents a significant restriction compared to previous generations of Intel-based MacBooks, which could run two monitors when connected to a USB-C or Thunderbolt 3 docking station without the need for software.
What is the best way to connect multiple monitors to my MacBook Air M1 or M2?
The most effective way to connect more than two external monitors to your Macbook Air M1 or M2, Windows 11, or even a Chromebook is to use a docking station. Although there are several docks available, it is essential to consider that not all of them are compatible with MacBooks or Chromebooks, as most are designed exclusively for Windows.
Docking stations act as connection hubs that expand the capabilities of your laptop by providing a variety of ports, including HDMI, DisplayPort, and USB, among others. Basically, they allow the simultaneous connection of multiple devices and peripherals, such as external monitors, keyboards, mice, storage drives, and other essential accessories, through a single USB-C cable.
Additionally, it facilitates centralized charging for your MacBook or Windows device without requiring a direct connection to the power outlet, allowing you to keep the battery fully charged. You’ll also be able to organize your workspace by reducing the presence of visible cables and improving mobility, as you’ll only need to connect and disconnect a single USB-C cable.
What was the best docking station for my MacBook?
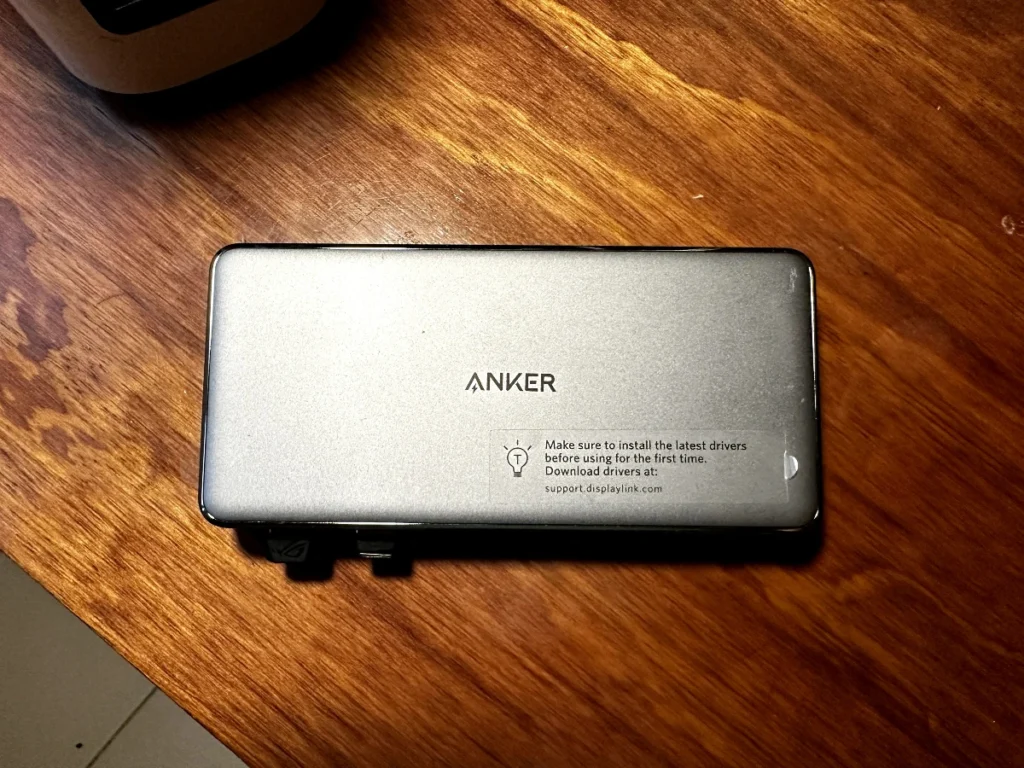
After conducting an extensive search, I discovered the ideal docking station for my needs: the Anker USB-C Docking Station. Specifically designed for MacOS devices, this device includes support for M1, M2, and M3 models, as well as Intel processor models. Additionally, it is compatible with Windows and Chromebook systems. The docking station offers support for triple monitors and features nine different ports.
Although it may appear to have a metal structure, it is actually coated in plastic with chrome accents. Its attractive gray color and the non-slip rubber base on the bottom provide a sleek design. It’s quite lightweight, weighing only 23 grams, which could cause the dock to shift or move involuntarily when manipulating the cables.
What really caught my attention from the start was the variety of connections:
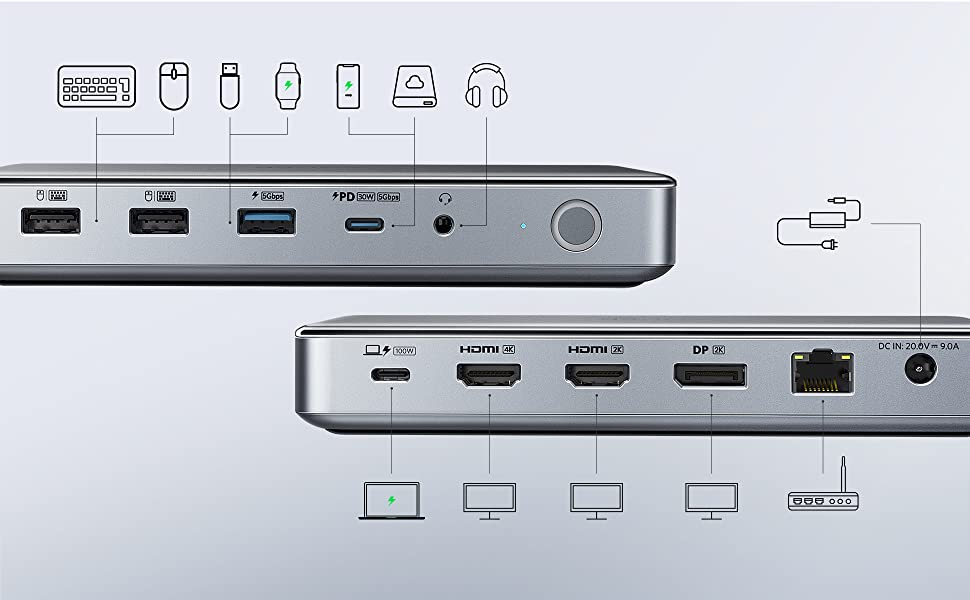
On the back of this dock, it has a 100W Power Delivery port (connection to the main device) that provides fast and powerful charging for your MacBook or Windows device via USB-C.
Then it has two HDMI ports: the first supports 4K resolution at 30 Hz, the second supports 2K at 50 Hz, and a DisplayPort with a capacity of 2K at 60 Hz, allowing you to connect up to three monitors at the same time and display different content. Next, it has a Gigabit Ethernet port for a wired internet connection. Finally, there is the DC-IN port, which is used to connect the device’s power adapter.
There are two USB 2.0 ports on the front for connecting your peripheral devices. Next, there’s a USB-A 3.2 Gen 1 port with 7.5W charging capability and a transfer speed of 5 GB/s. Following that, you will notice a USB-C port with 30W charging capability and a transfer speed of 5 GB/s, allowing you to charge your smartphone. It also includes a dedicated connection for your headphones. Lastly, for convenient control, the power on/off button is located on the right end.
How do I set up the docking station to work with my computers?
The Anker Docking Station is incredibly simple to set up to function with multiple computers. Basically, all you need to do is install the software called DisplayLink on all your computers, which is available at this link. When visiting their support page, you’ll notice they offer compatibility with Windows, MacOS, Android, Chrome OS, and even Ubuntu (Linux).
Once you have installed the software corresponding to your operating system, it’s all plug-and-play. Connect all your monitors and peripherals.
Thanks to DisplayLink and Anker, connecting multiple monitors is easy and accessible. Their technology allows you to expand visual space by connecting monitors to almost any computer via USB-C. DisplayLink stands out as a leader in universal docking solutions, enabling the connection of monitors, audio, Ethernet, and other peripherals on both PC and Mac, as well as tablets.
To learn more about DisplayLink, click on the following link: USB-C with DisplayLink | Synaptics
How is my setup with the Docking Station?
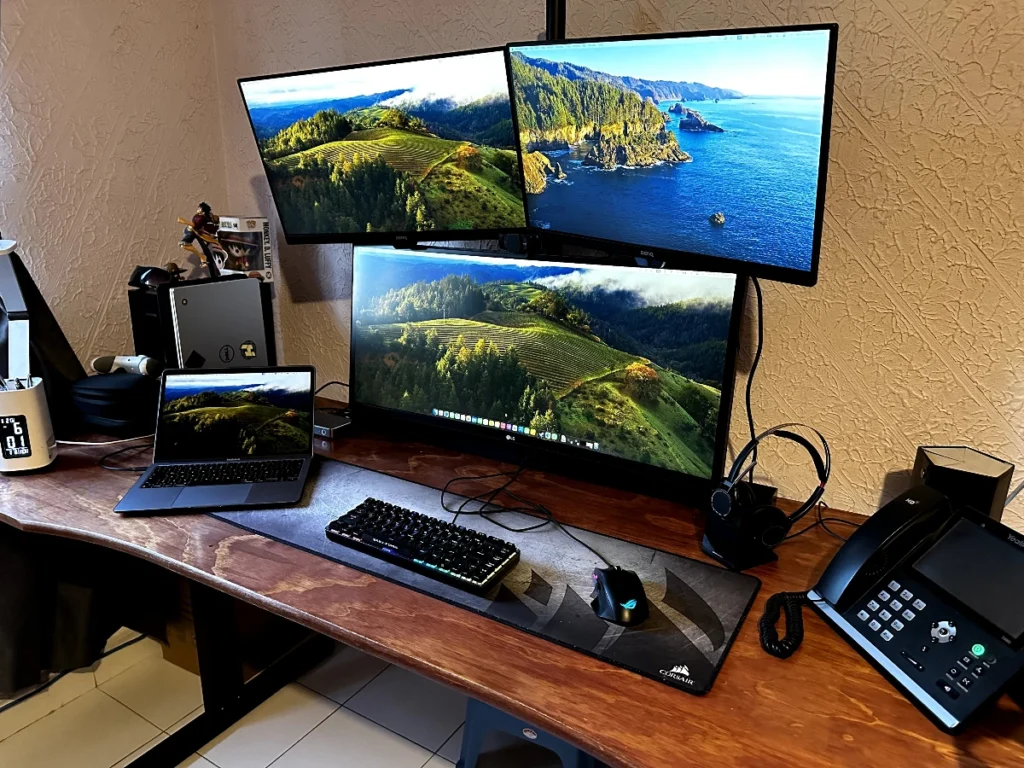
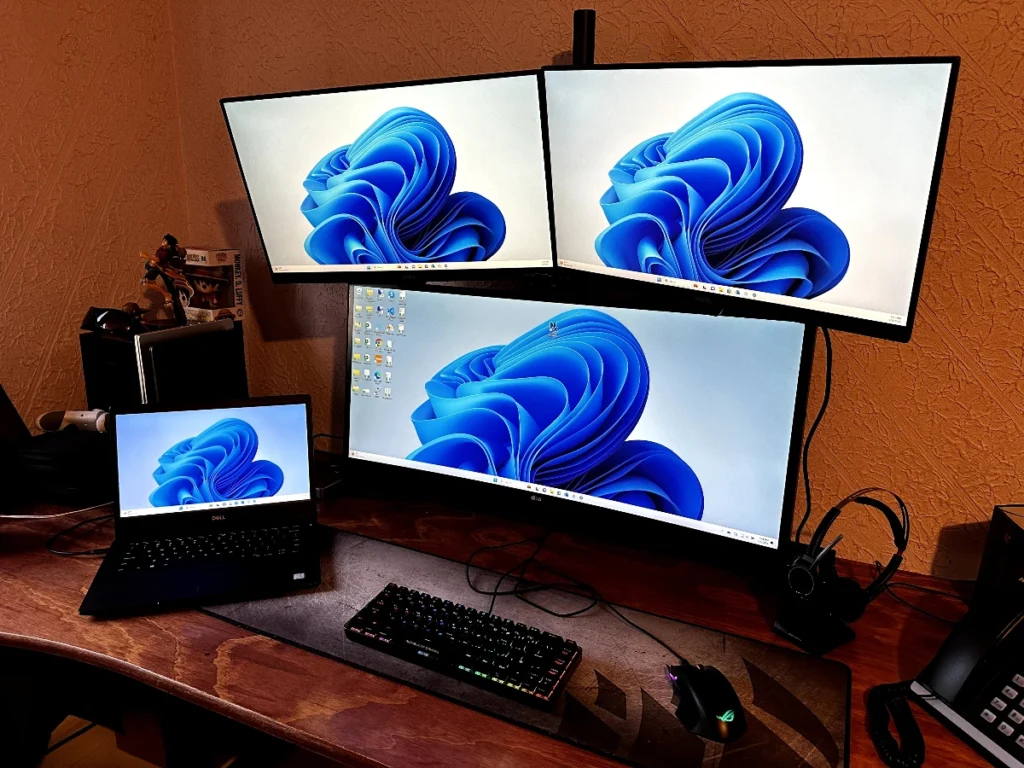
My current setup includes a Macbook Air M2 for personal use, a Windows 11 laptop for work, another Windows laptop without a USB-C port that I barely use, and occasionally a Chromebook. Additionally, I have a gaming PC with three monitors: an LG Ultra Wide connected via DisplayPort, and above it, two BenQ GQ2480 connected via HDMI. Additional HDMI ports are available on the BenQ and LG monitors.
The limitation of the MacBook Air’s ability to connect only one external monitor was a major obstacle for me. Although my work laptop with Windows has no limit on monitors you can connect, its setup also requires multiple adapters and generates an excess of cables, which is not practical at all.
With the Anker Docking Station, switching between my gaming PC, the MacBook Air, and other laptops is incredibly simple. I just need to adjust the inputs on the monitors to alternate between my gaming PC and the docking station, making it all I need to start using the docking station with my devices. A simple and effective setup.
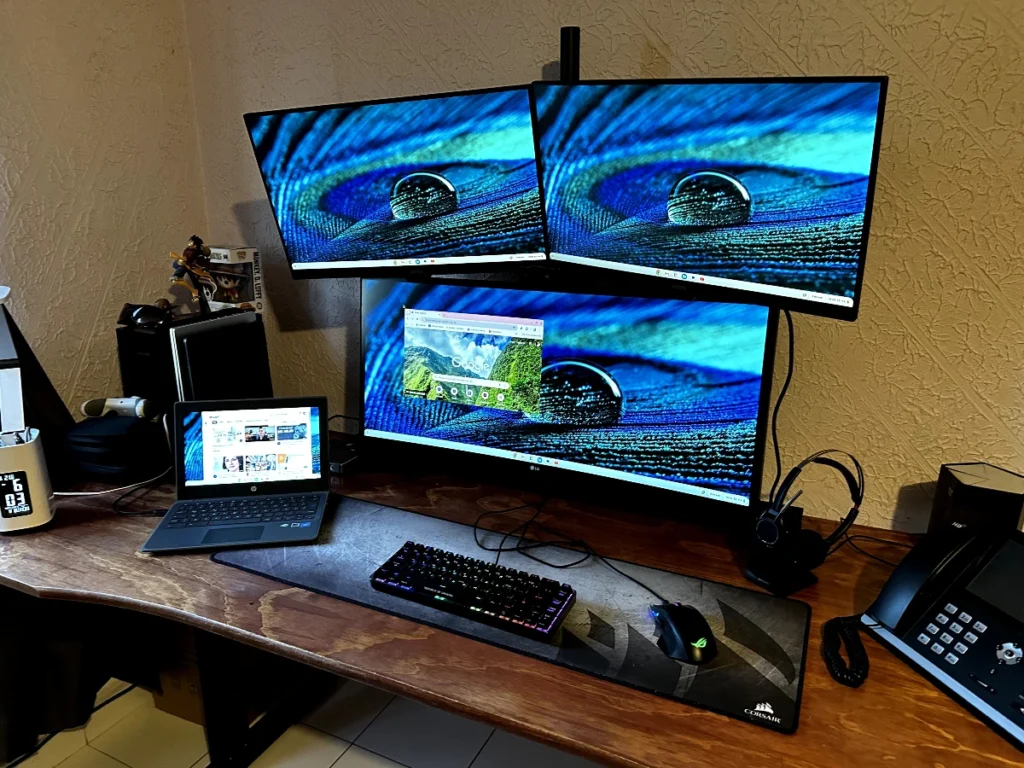
As you may have noticed, the Anker has a DisplayPort, which may have made you wonder how I was able to connect it via HDMI. It’s a fairly simple question to answer, as I simply purchased a DisplayPort to HDMI adapter, which allowed me to easily connect my monitor to the dock.
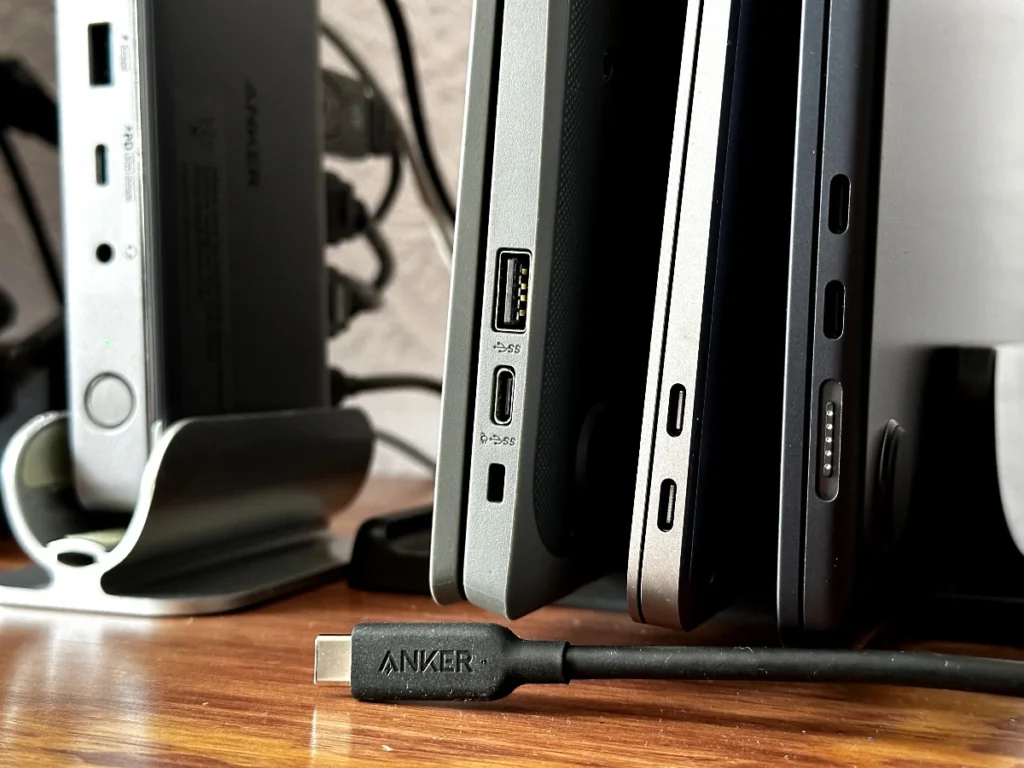
Now, I have a stand for three laptops that I bought on Amazon. This stand allows me to place my laptops vertically, which helps me keep my desk better organized and frees up valuable space. Thanks to this solution, I can easily switch between devices by simply connecting the USB-C cable of the one I want to use at that moment.
While the Anker Docking Station has provided me with overall great satisfaction, there is one aspect that I would like to see improved: the lack of vertical support. Because the dock cannot be placed vertically, it occupies horizontal space on the desk, which can be inconvenient if space is limited.
To solve this inconvenience, I have had to resort to an alternative solution: using the base of an external hard drive that I no longer use as a vertical stand. While this solution works, it’s not ideal, as it’s not designed for this purpose and can be unstable.
I believe Anker should include the ability to position the dock vertically as a standard feature. This could be accomplished via an integrated stand or an optional accessory. This would improve the ergonomics of the device and make it easier to use, in my case.
What do buyers think?
Below is a summary of what buyer reviews say about the Anker device.
Positive Aspects:
- The Anker Docking Station USB-C effectively utilizes all three display outputs independently on Macs, providing flexibility in monitor setup.
- Users appreciate the solid power delivery, allowing for USB-C device charging through the front USB-C port.
- The docking station streamlines connectivity with HDMI and DisplayPort outputs, facilitating dual-monitor setups with a single USB-C cable.
- Setup is straightforward, with plug-and-play functionality after installing the DisplayLink software.
- It offers a compact design, making it smaller than other docks, and features fast and powerful charging capabilities.
- The docking station enables users to run two additional displays in addition to the internal display, improving workspace productivity.
Negative Aspects:
- Some users report issues with long-term reliability, experiencing device failure after a year of use.
- There are concerns about the limitations in resolution and refresh rates for each display connector, especially with multiple high-resolution monitors.
- Occasional issues are reported with USB connections and display configurations, leading to connectivity inconsistencies.
- The included power adapter is described as bulky and heavy, impacting portability and desk space.
- Users note limitations in USB-C cable length for stable connections, requiring the use of shorter cables provided with the dock.
- The DisplayLink software requirement, even for single monitor setups, is seen as an inconvenience and raises security concerns.
- Some users encounter challenges in achieving the desired resolution and refresh rate, particularly with higher-resolution monitors, leading to usability issues.
- There are mixed experiences with customer support and warranty processes, with some users expressing dissatisfaction with the resolution of issues.
Conclusion
After facing the connectivity limitations of my Macbook Air M1 or M2, I found the perfect solution in the Anker USB-C Docking Station. This docking station not only surpassed Apple’s restrictions but also stood out for its versatility, compatibility, and exceptional performance.
I highly recommend the Anker Docking Station to those seeking a reliable solution for connecting multiple monitors to their laptops. It has simplified my workspace, offering a hassle-free experience and significantly enhancing efficiency. The investment in this docking station proved valuable and satisfying.